Metal halide high bays once made sense for warehouses, factories, and gymnasiums. Today, aging lamps can mean slow warm-up, uneven light, and frequent maintenance. LED upgrades can improve control and reduce energy use, but results depend on the existing fixture, ceiling height, and operating schedule. The right solution is not always a simple lamp swap.
The U.S. Department of Energy’s ENERGY STAR guidance reports that LED lighting uses at least 75% less energy and lasts up to 25 times longer than incandescent lighting. That comparison is not a direct metal halide benchmark. Still, it shows why efficient lighting deserves attention. For metal halide systems, compare measured input watts, delivered light, and service life before estimating savings. Check the ballast, socket condition, fixture temperature, and light distribution. Small details matter.
This guide explains how to retrofit metal halide to led high bay safely and practically. It covers retrofit options, compatibility checks, light-level planning, and commissioning. A listed LED retrofit kit may preserve the existing housing, while a complete fixture replacement may suit damaged or outdated equipment better. Follow the product maker’s instructions, and have a qualified professional assess electrical work. Not every old fixture is worth keeping. A careful audit can reveal that. DOE guidance is useful context, but site measurements should shape the final decision.
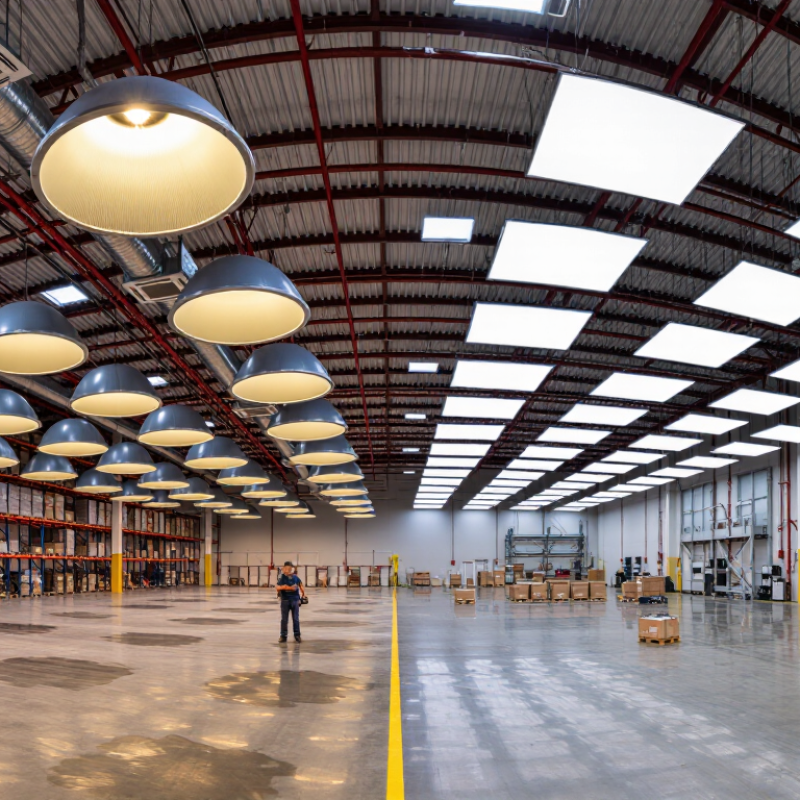
Before choosing an LED retrofit, inspect the metal halide high bay as a complete system. Turn off power and let the lamp cool before opening the fixture. Record the lamp wattage, ballast type, supply voltage, and socket condition. These details help determine whether a retrofit lamp can work with the existing ballast or requires a different approach.
Look for cracked sockets, brittle wiring, corrosion, loose reflectors, and darkened areas near the lamp. Check how the fixture is mounted and whether its housing has enough room for the proposed LED equipment. A lamp that fits the socket may still be unsuitable for the fixture. Not a safe assumption. Dust on the reflector and lens can also reduce usable light, so note their condition before comparing new output.
Consider the work area, too. Measure the mounting height, observe the spacing between fixtures, and note whether shelving or machinery blocks the beam. Existing light levels may be uneven, even if the room seems bright. I would not call a fixture ready just because it turns on; that judgment can miss worn components or poor light distribution. If wiring or ballast condition is uncertain, have a qualified electrician inspect it before selecting a retrofit method. This step may feel cautious, but it can prevent mismatched equipment and avoidable rework.
| Assessment Item | What to Check | Useful Reference or Observation | Why It Matters for an LED Retrofit | Recommended Action |
|---|---|---|---|---|
| Fixture condition | Inspect the housing, reflector, lens, socket, wiring, and mounting hardware for corrosion, cracks, heat damage, or loose parts. | Look for damaged insulation, brittle components, discoloration, or signs of overheating. | A retrofit will not correct unsafe or deteriorated fixture components. | Repair or replace damaged fixtures before installing LED equipment. |
| Existing lamp and ballast | Record the metal halide lamp wattage and identify the ballast type and condition from its label. | Common metal halide lamp ratings include 250 W, 400 W, and 1,000 W; actual installations vary. | Ballast compatibility depends on the selected LED product. A lamp’s wattage alone does not determine the correct LED replacement. | Check the LED manufacturer’s compatibility instructions. Confirm whether the ballast is retained, bypassed, or removed. |
| Socket and lamp base | Check the socket type, condition, and suitability for the intended LED solution. | Many high-wattage metal halide high bays use an E39 mogul screw base, but verify the installed fixture. | LED lamps may require a specific socket, wiring arrangement, or fixture orientation. | Confirm the LED product’s socket and installation requirements before ordering. |
| Supply voltage and wiring | Verify the fixture’s input voltage, wiring diagram, grounding, and any control wiring. | Do not assume that every fixture in a building has the same supply or wiring configuration. | Voltage or wiring mismatches can cause malfunction and may create an electrical hazard. | Match the LED equipment to the verified supply. Have ballast bypass or rewiring completed by a qualified electrician in accordance with product instructions and local electrical codes. |
| Fixture enclosure and operating conditions | Determine whether the fixture is enclosed, exposed to dust or moisture, or used in a high- or low-temperature area. | Check the LED product’s stated enclosure, environmental, and operating-temperature limitations. | Heat buildup and environmental exposure can affect LED performance and product suitability. | Select an LED solution rated for the actual fixture and site conditions; do not use a product in an enclosure unless it is approved for that use. |
| Mounting height and light distribution | Measure the fixture mounting height and note aisle layout, ceiling height, and the existing reflector or lens. | High bays are used at varying mounting heights; beam distribution should suit the space and task. | A different beam pattern can create dark areas, glare, or uneven illumination even when the LED output is adequate. | Compare the LED product’s photometric information with the room layout and intended light distribution. |
| Existing illumination | Measure light levels at the work plane and note uniformity, dark spots, and glare under normal operating conditions. | Illuminance is commonly measured in lux or foot-candles. Appropriate levels depend on the task and applicable requirements. | Measurements help establish a baseline and assess whether the retrofit meets the space’s lighting needs. | Use the project’s lighting criteria or applicable standards to set targets, then verify the completed installation with measurements. |
| Controls and operating schedule | Identify switches, occupancy sensors, daylight controls, dimming, and typical operating hours. | LED compatibility with controls must be confirmed for the selected driver or lamp. | Controls can affect energy savings, operation, and equipment compatibility. | Verify control compatibility and document operating hours before estimating energy use or savings. |
| Fixture listing and retrofit method | Review fixture markings and the LED product’s installation documentation for permitted retrofit methods. | Some LED options are designed for particular wiring or fixture arrangements; requirements are product-specific. | Changing the electrical configuration may affect safety, listing, warranty, or code compliance. | Use a listed, compatible solution and follow its instructions and applicable local codes. |
Safety note: Metal halide fixtures contain high-voltage components and may retain heat after shutdown. Disconnect power and allow components to cool before inspection. Electrical work should be performed by a qualified professional.
Note the lamp wattage, ballast type, mounting height, and supply voltage. Compare these with the LED’s input needs, lumen output, beam distribution, and color temperature.
Only if the kit instructions approve that wiring arrangement. Some kits retain the ballast; others require its removal. Never assume compatibility.
Consider one when the reflector, socket, and housing are sound. It may preserve mounting points and reduce replacement work. Small defects matter.
Replace it when the housing is worn, light distribution is poor, or controls are needed. Check dimensions, mounting, and ratings for dust, moisture, and temperature.
Test one fixture if possible. Review the light at floor level and watch for dim aisles or glare. Wattage alone can mislead.
Switch off the circuit at the breaker, prevent it from being turned back on, and let the lamp cool. A qualified electrician should verify power is off with a properly rated tester. A wall switch isn’t enough.
The ballast, ignitor, and capacitor may retain energy. Follow the fixture or retrofit instructions for the capacitor. Do not short its terminals. Not always simple.
Photograph the connections before disconnecting anything. Keep the ground connection intact and secure unused conductors with approved connectors. Stop and ask an electrician if the wiring differs. I may be overlooking site-specific details, so don’t improvise.
Retrofitting a metal halide high bay light to LED can improve energy efficiency and reduce maintenance, but the right approach depends on the condition and design of the existing fixture. Start by inspecting the housing, wiring, mounting, and electrical components, then choose an LED retrofit kit or a complete replacement fixture that is compatible with the installation. Confirm the product’s specifications and follow its instructions before beginning work.
For how to retrofit metal halide to led high bay, disconnect power at the circuit and verify that the fixture is de-energized before removing the lamp, ballast, and other components required by the chosen retrofit. Install the LED components securely, make the electrical connections according to the instructions, and check that all covers and fittings are properly in place. Restore power only after the work is complete, then verify that the light operates correctly and safely. If you are unsure about the wiring or installation, have a qualified electrician perform or inspect the work.